
Article CategoriesAFM Magazine
|
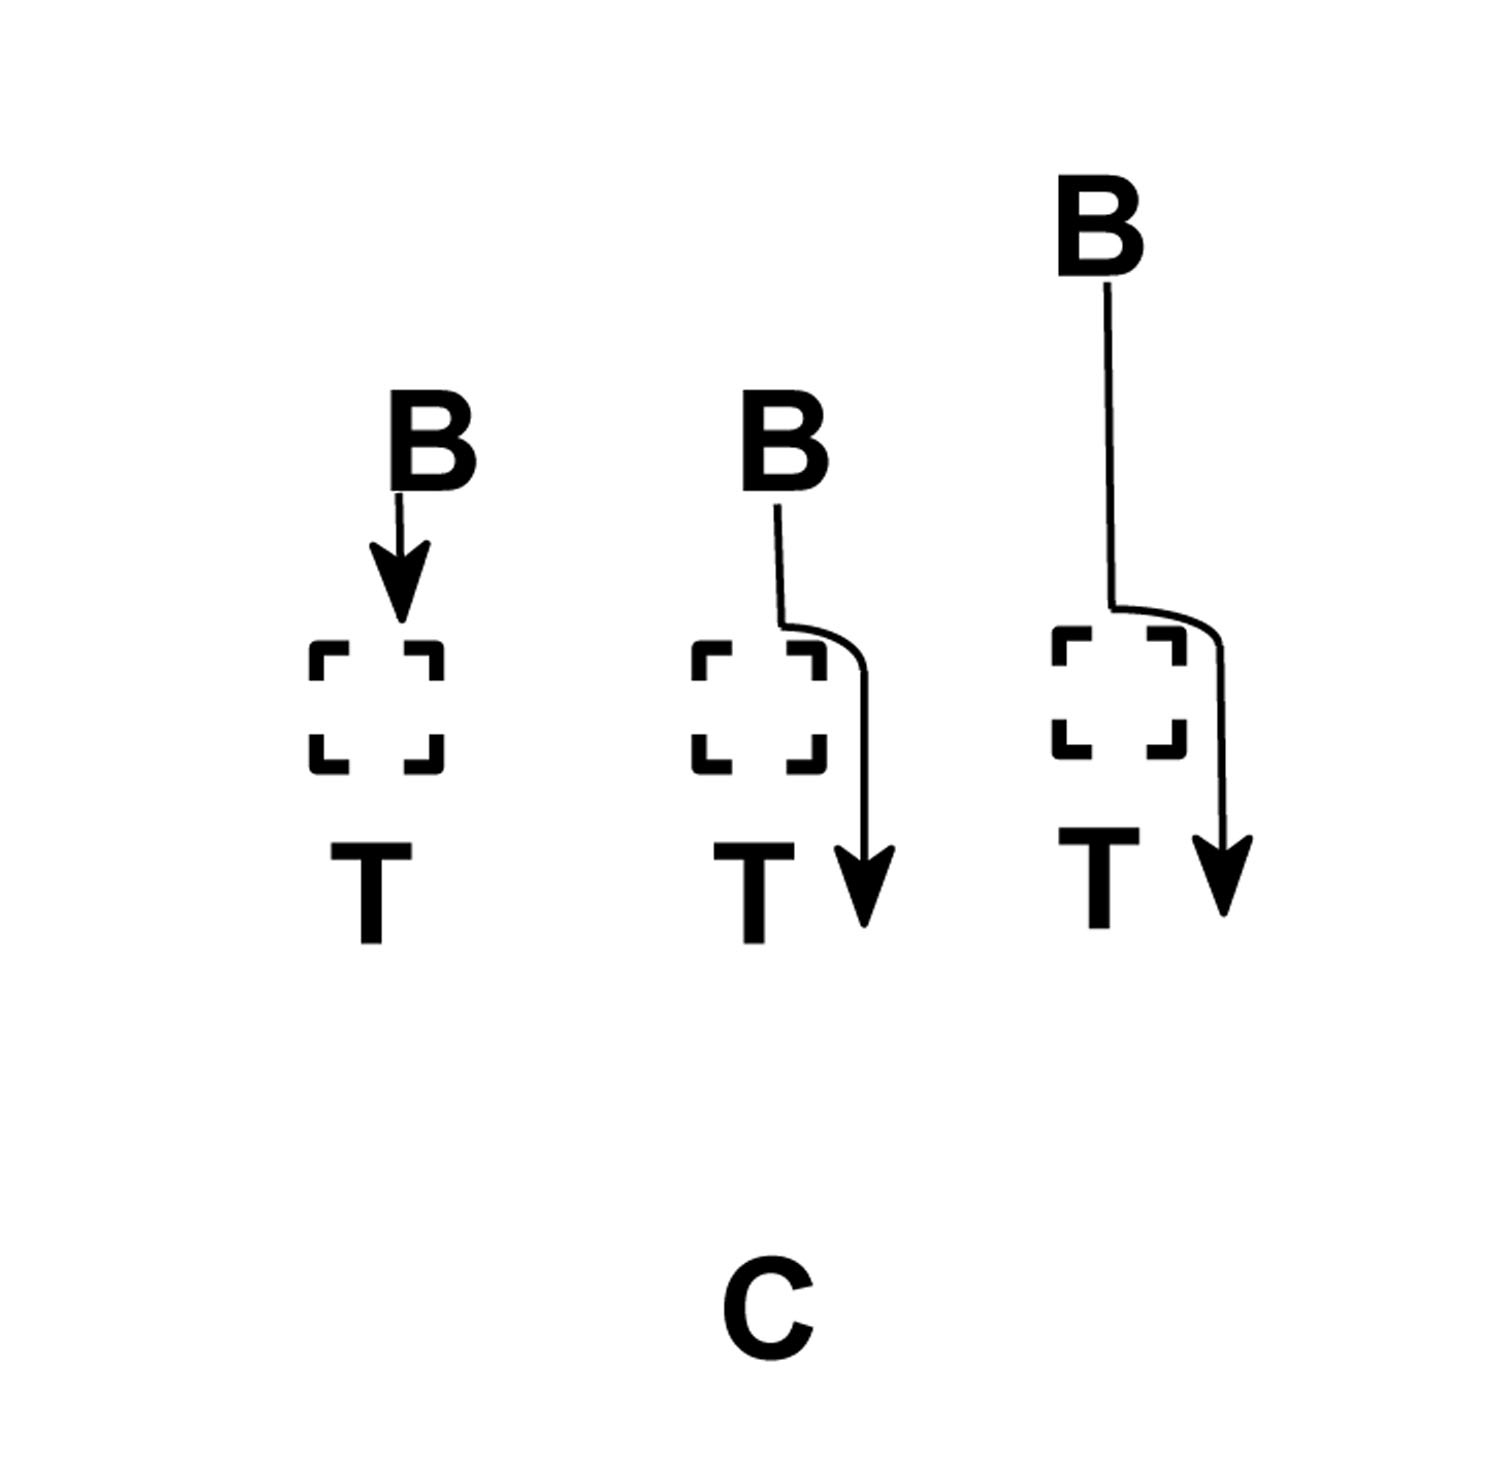
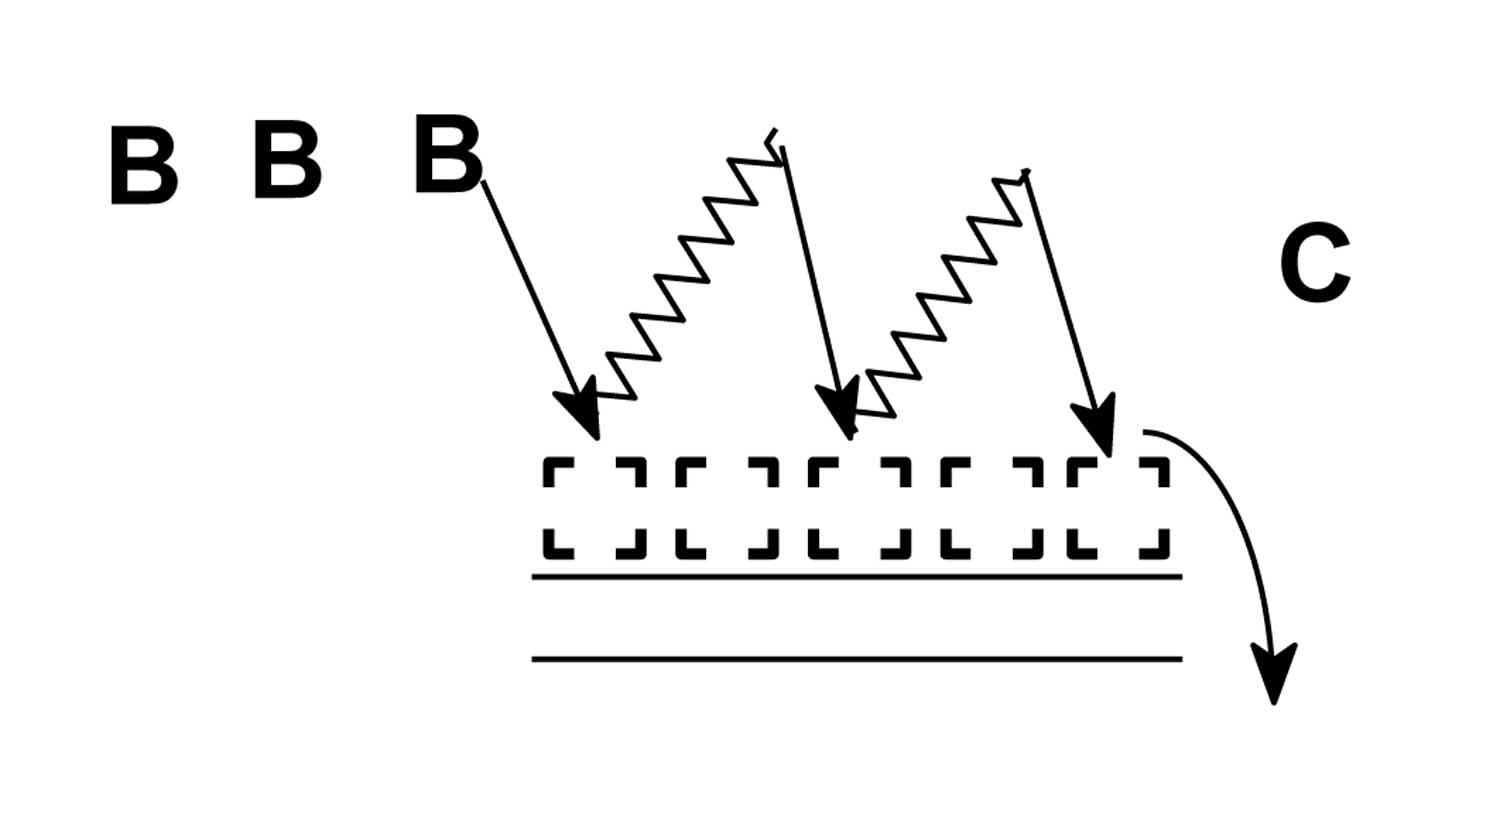
Drills Report Techniques to Prevent Blocksby: Brad ForsheyDefensive Line Coach and Director of Football Operations, West Liberty University © More from this issue When a player is blocked, it is commonly due to two things. He has concentrated solely on the ball carrier and not the individual who is coming to block him, giving him little chance of success. Or, his attack and body position taking on the block doesnt allow him to use any power. Without enough power, you are unable to gain advantage or leverage on a blocker. When you have proper position and use power, you are able to strike and neutralize the opponents power to maintain your gap of responsibility or, better, to overpower the blocker. The effectiveness of the strike delivered will be dependent on the force exerted. This starts by using all of your ground-based weight room training to your benefit. Attack the blocker with a great base foot. This is about power and timing. When attacking a blocker, you have a man foot and man hand just as you have a gap foot and gap hand. The gap hand and foot are based on which side your leverage of responsibility is on the blocker. Your man foot is also your base foot. You will gain the greatest force when you time the plant of your base foot with the strike of your hands. The ability to separate with your hands is greatly improved with the power you gain through your legs and hips being driven into the ground. We repeatedly train this movement and timing. It is critical to not over-extend while trying to get a good base foot. Being over-extended reduces your power and ability to get off of the block. We teach four fundamental block defeat techniques: Diagram 1: Hit and Shed Progression vs. Hand Shields With a teammate holding a hand shield, we will teach a progression of first getting a base foot and strike on both sides of the shield (Diagram 1). The second illustration shows using an escape and clearing the shield. We teach the rip in this drill. The third illustration shows coming downhill and coming to balance in order to not overextend the base foot and then using the rip to finish. The drill is taught often with three or more shields at a time with all players doing the same thing. The diagram is meant to demonstrate the progression. We can use each method of block defeat as part of the progression hat and hands, shoulder rip and shoulder forearm. Diagram 2: 3 vs. 1 Hit and shed Progression vs. Hand Shields With three teammates holding hand shields, we will teach the progression of defeating a block three different ways. We use a ball carrier to maximize our understanding of leverage and defeat. The coach will stand in view of the three teammates and the BC. He will indicate which bag is to advance to the LB who must react and use a proper defeat. Fundamentally, we use shoulder rip on the closest shield, shoulder forearm on the middle shield and hat and hands on the furthest shield. You can choose to vary the involvement of the back as a finisher. We also use a snap count to improve reaction.
Diagram 3: Hit and Shed Progression vs. 5 Man Sled We start with a standard shuffle, attack and strike drill. Focus is getting a good Base Foot and striking with thumbs up, tight elbows, telling them they are in handcuffs. We always use the final bag as a rip finisher, concentrating on keeping separation with our outside hand (gap hand), ripping low and pulling our hip through. We also discuss the hip flip and getting skinny. Those who do it well dont collide with the bag as they finish. A good finish will come under and outside of the bag. We then always ensure the rip is finished with fist high to clear the hold.
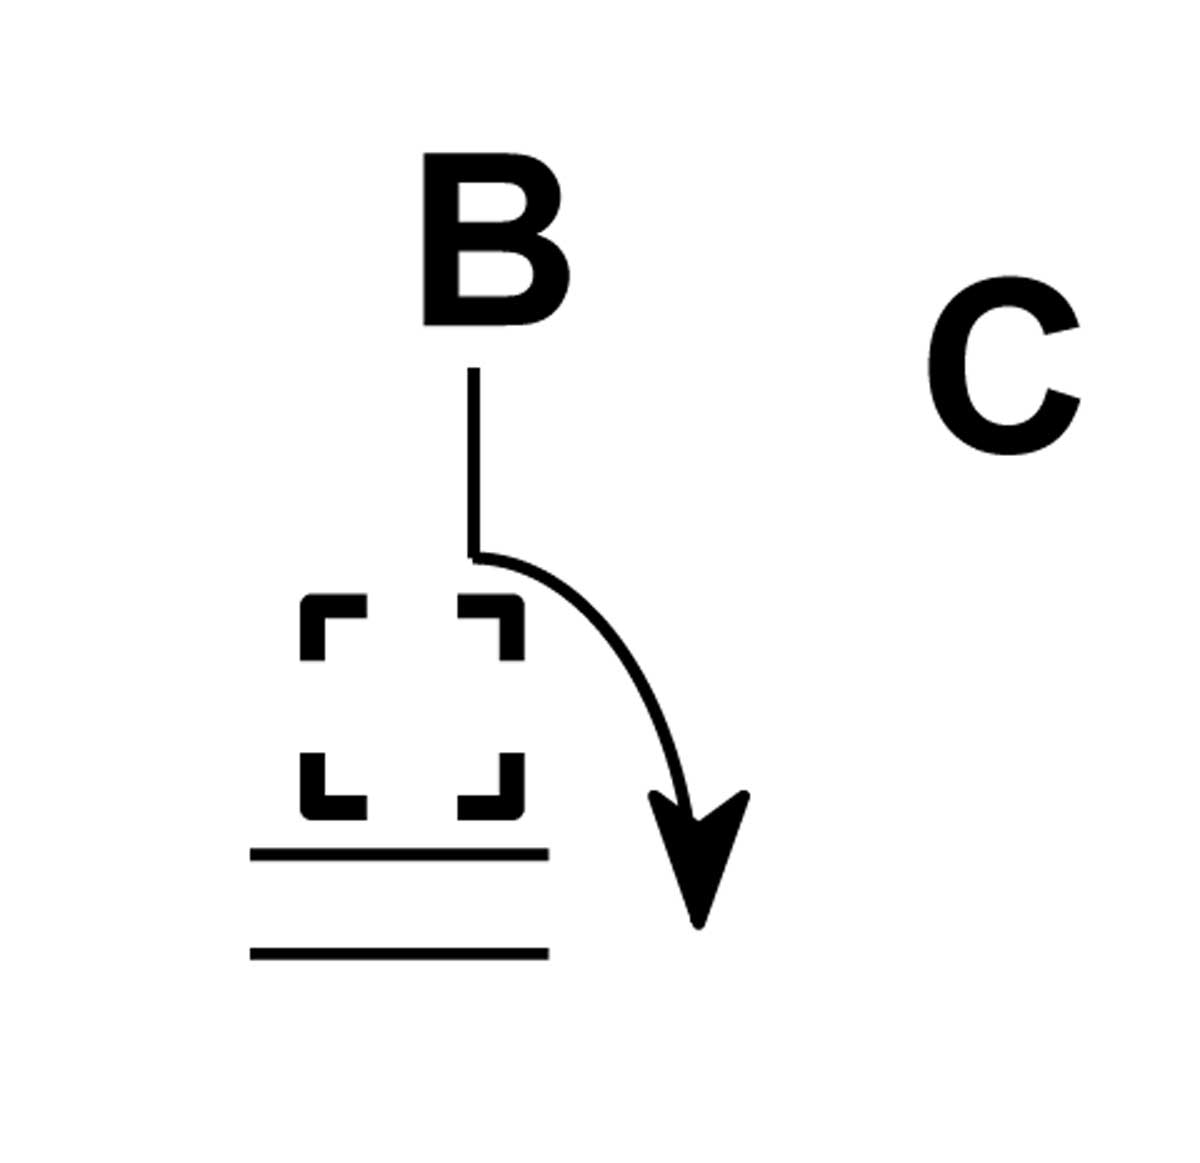
Diagram 4: Hit and Shed Progression vs. 5-Man sled: 1-3-5 On the 5-Man, we only use our hat and hands technique.
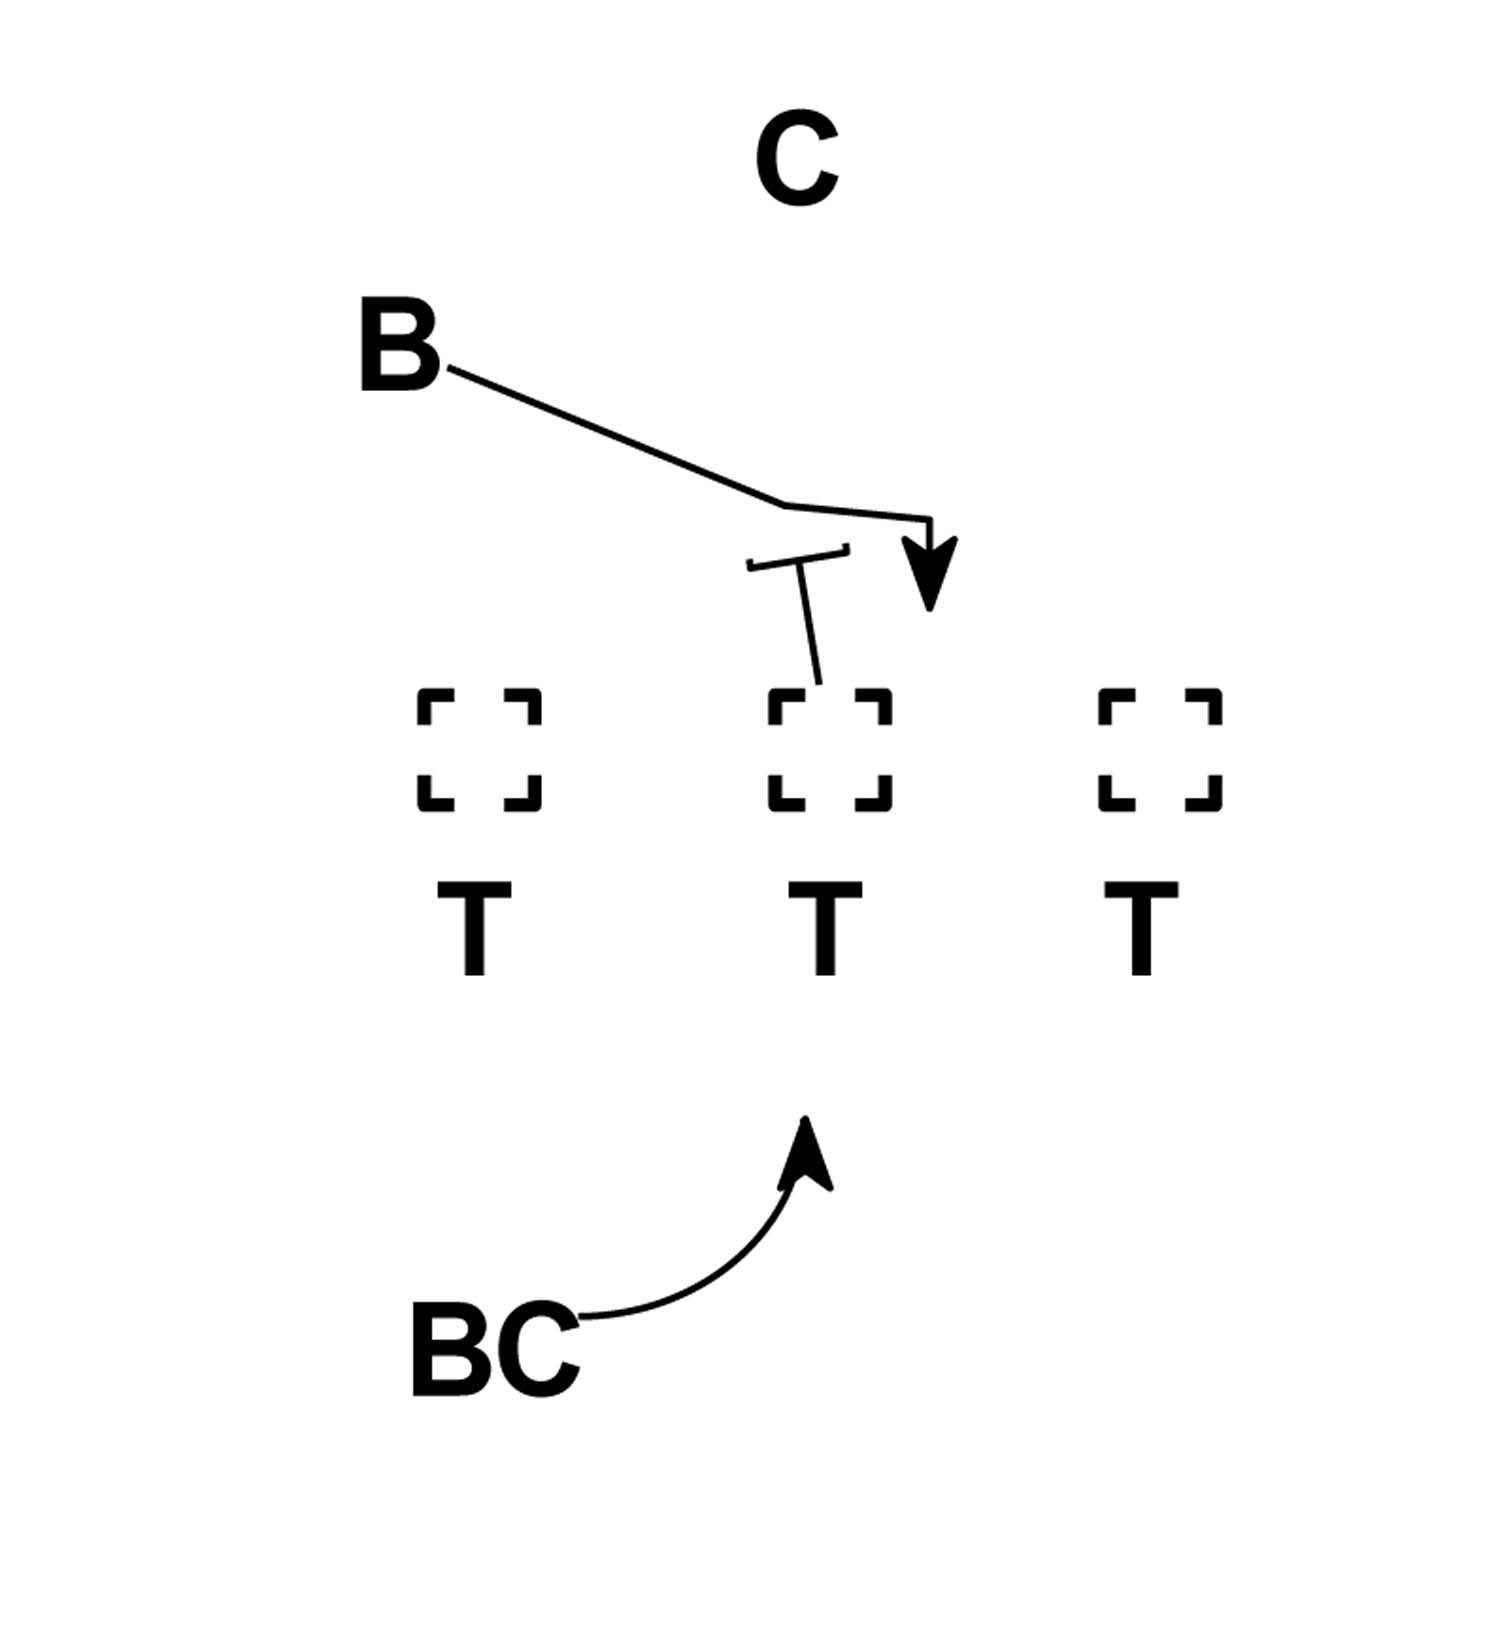
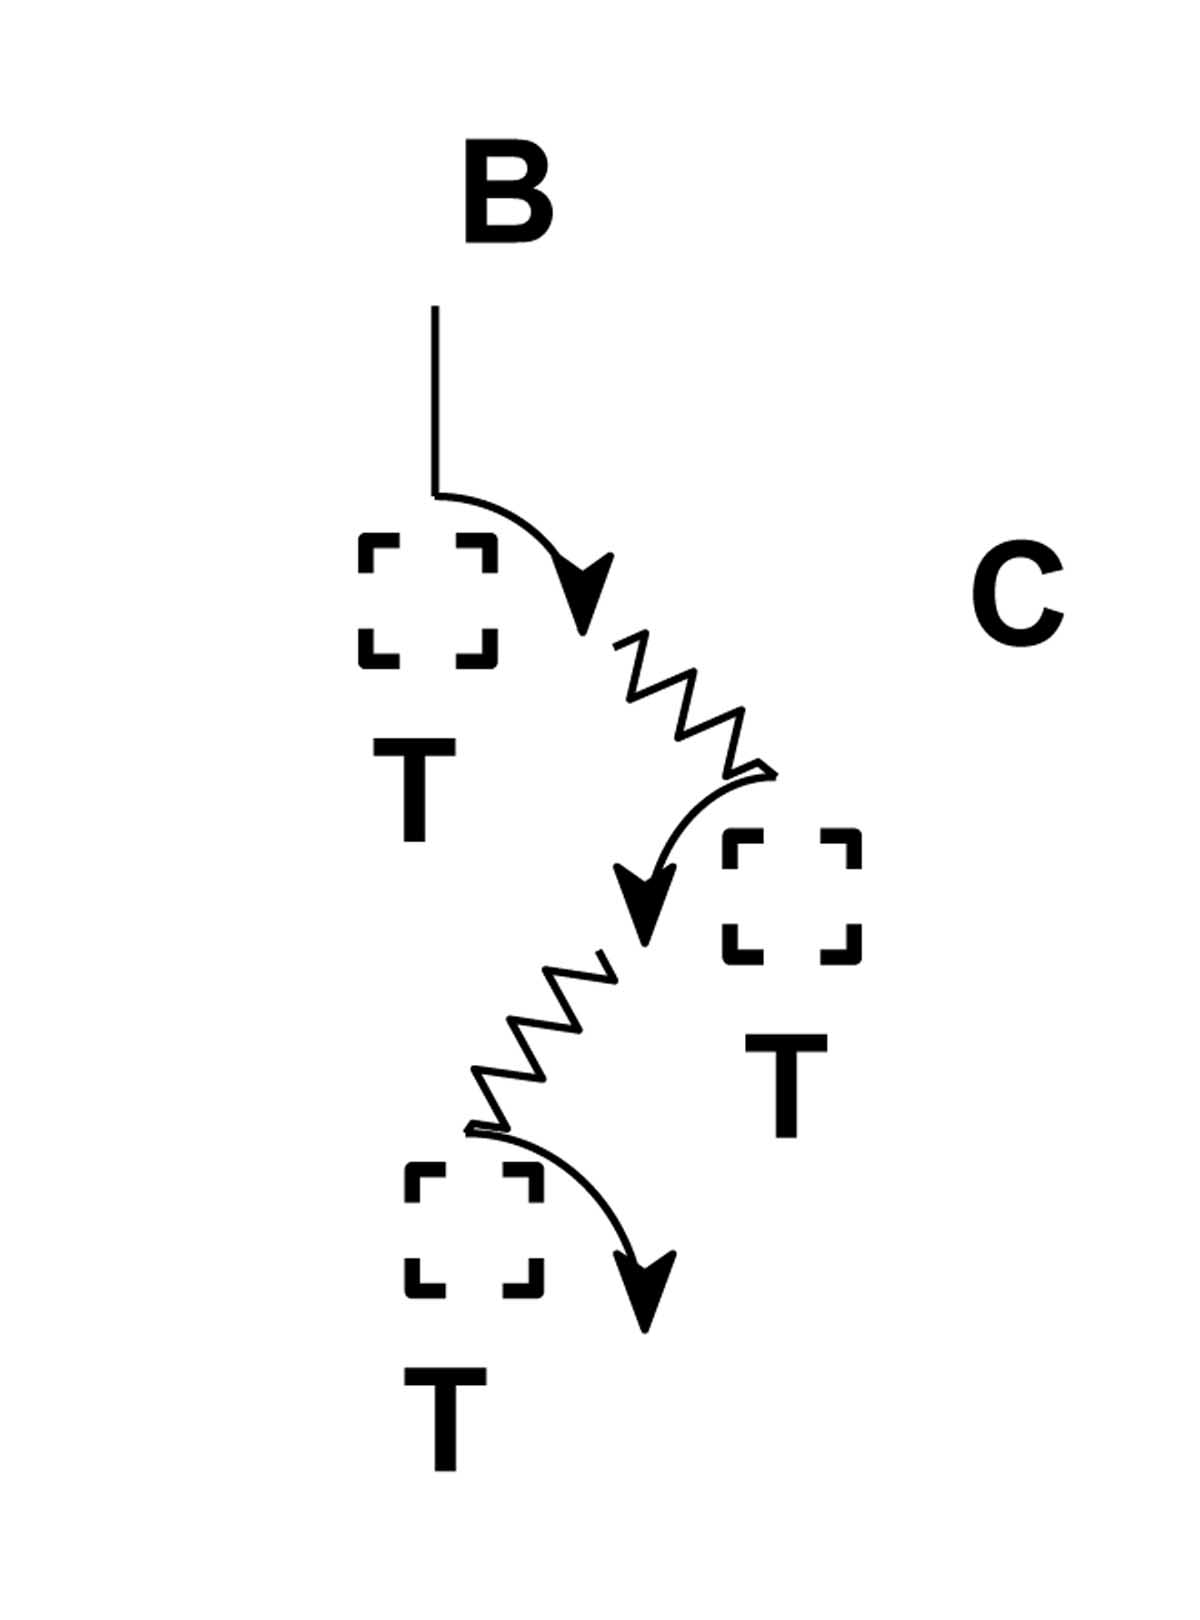
Diagram 5: Gauntlet We use two groups of three shields (only one diagramed below). Using proper hat and hands technique, weave through the gauntlet, timing a proper base foot and strike. Then, use the rip technique to escape.
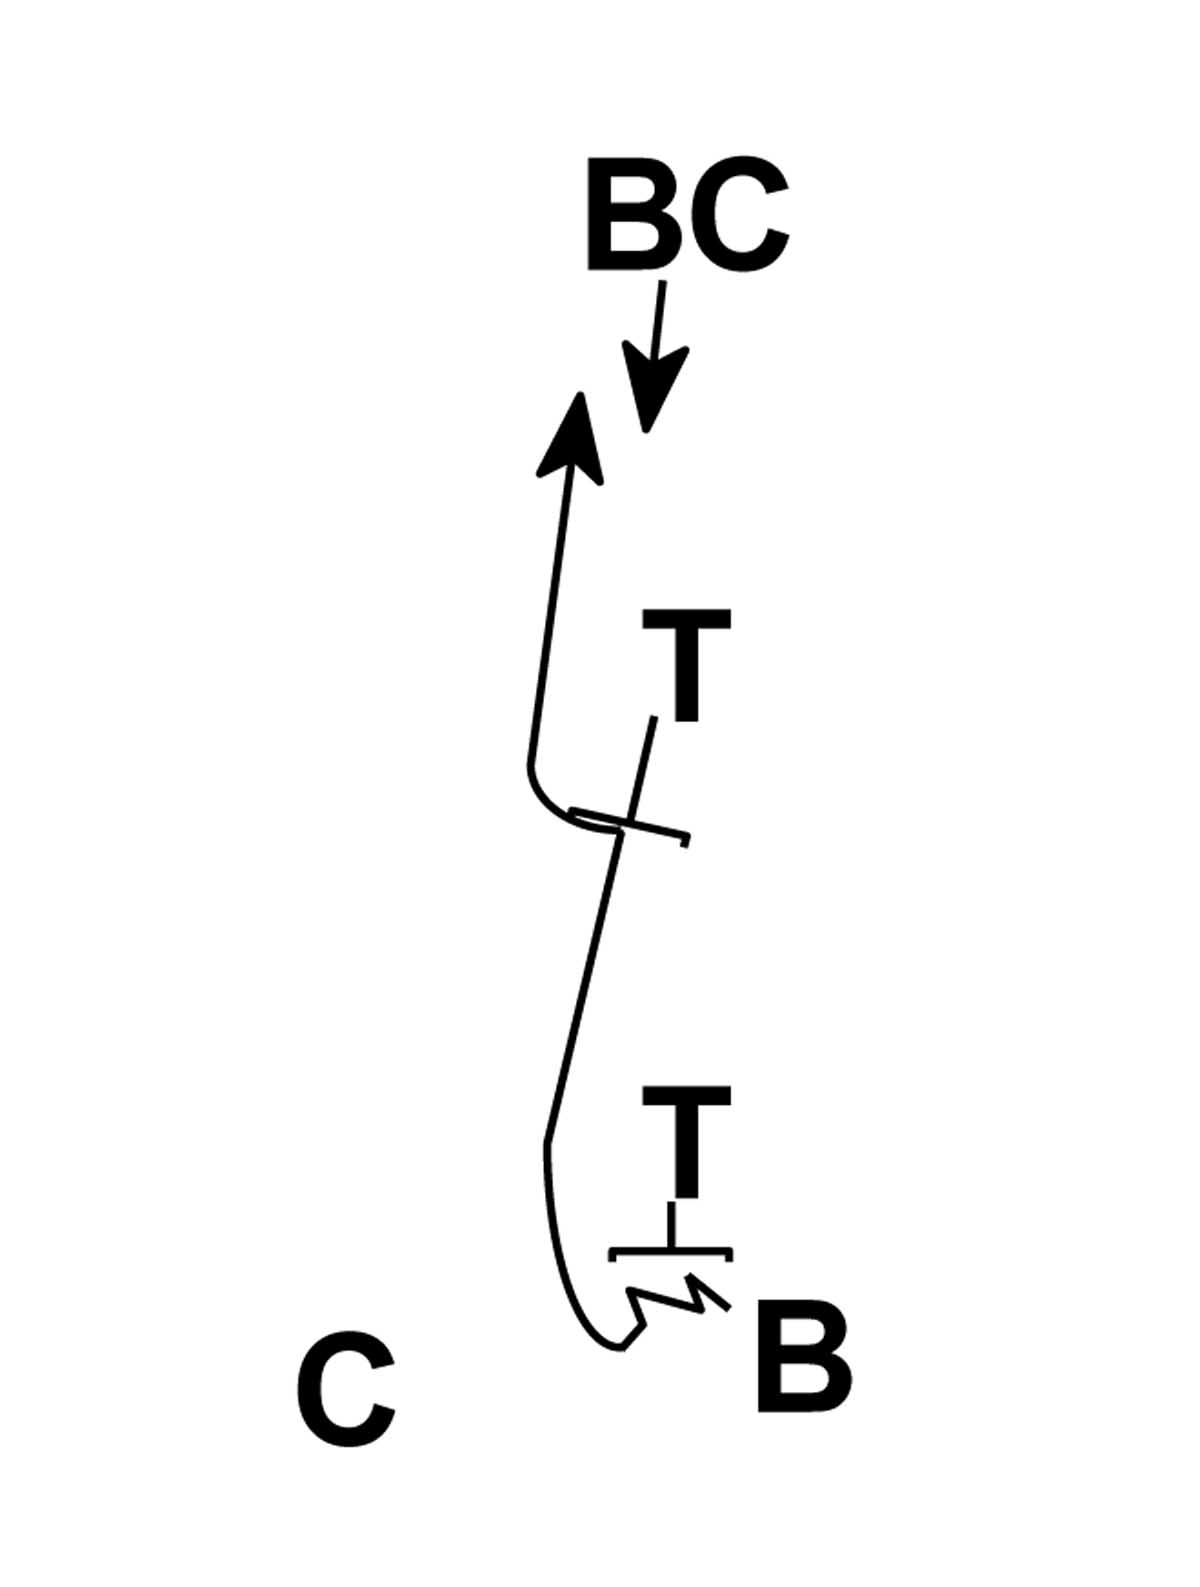
Diagram 6: One-Man Sled Drive and Rip Using the one-man sled and using proper hat and hands technique, attack the sled and concentrate on getting full separation. We run our knees in contact and push to our leverage (designated before the drill). Focus on keeping your gap hand in solid, locked out contact with the bag while dropping to rip under and escape. The sled will only drive a couple of yards and you can use a whistle to indicate when you have seen a proper lockout for the players to initiate the rip.
Diagram 7: Machine Gun Drill The LB aligns offset of three teammates that are aligned 1 yard, 5 yards and 10 yards. The first teammate is in a 6 point stance ready to launch out to simulate a cut. Using proper push-give technique, the tackler drives the blocker into the ground and gives a little ground with his legs, protecting his outside leg. Once he clears the cut, a second blocker comes downhill to base block. Use proper hat and hands technique and finish with a rip, then finish on the ball carrier. You can vary the cut block by having him continue to roll or launch out at an angle to provide more difficulty. |

 Digital Download - 304 Pages of Football Forms for the Winning Coach


|
| HOME |
MAGAZINE |
SUBSCRIBE | ONLINE COLUMNISTS | COACHING VIDEOS |
Copyright 2024, AmericanFootballMonthly.com
All Rights Reserved